
Mastering Shot Size
Discover how shot sizes dictate emotional connection and narrative focus. Learn to use everything from Extreme Close-ups to Long Shots to tell a better story.
The distance between your lens and your subject is the first decision that defines the "grammar" of your scene. Based on the principles in The Filmmaker's Eye, shot sizes are more than just technical choices; they are the primary tools for controlling the audience's emotional proximity to a character. Whether you are isolating a single teardrop or capturing a vast desert, the frame size dictates how much information—and how much feeling—the viewer receives. This guide explores the spectrum of shot sizes and how to use them to tell a more compelling story.
Shot Sizes
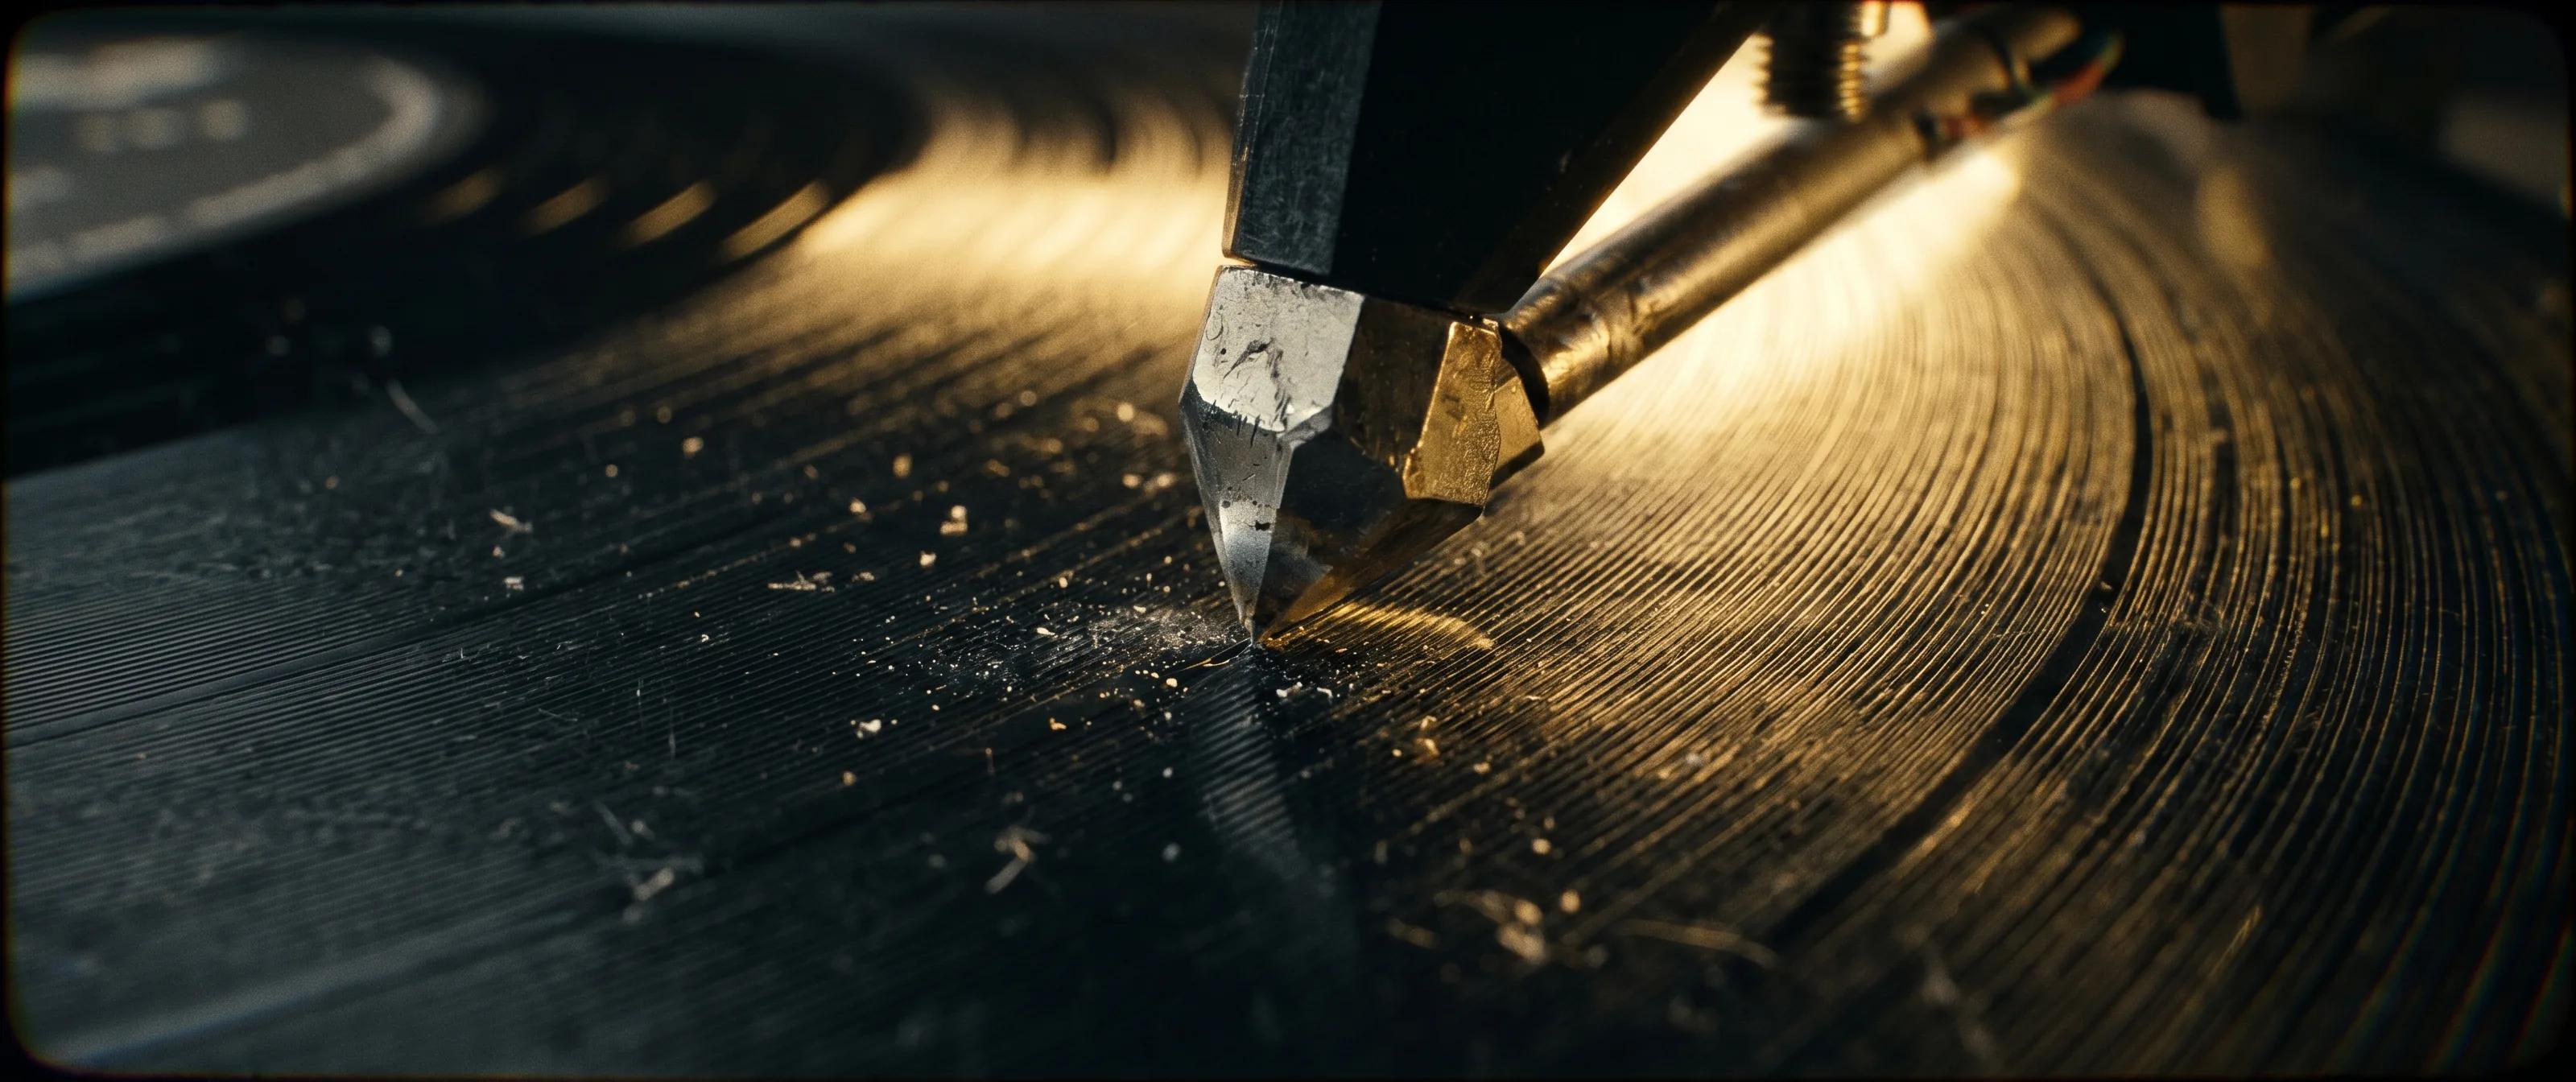
Extreme Close-Up
Frames a very small detail of the subject, such as an eye or a hand, emphasizing intense emotion or detail. Use this shot to highlight critical emotional moments or to draw attention to a specific object or detail that is crucial to the narrative. It creates intimacy and intensity, often used in dramatic or suspenseful scenes.
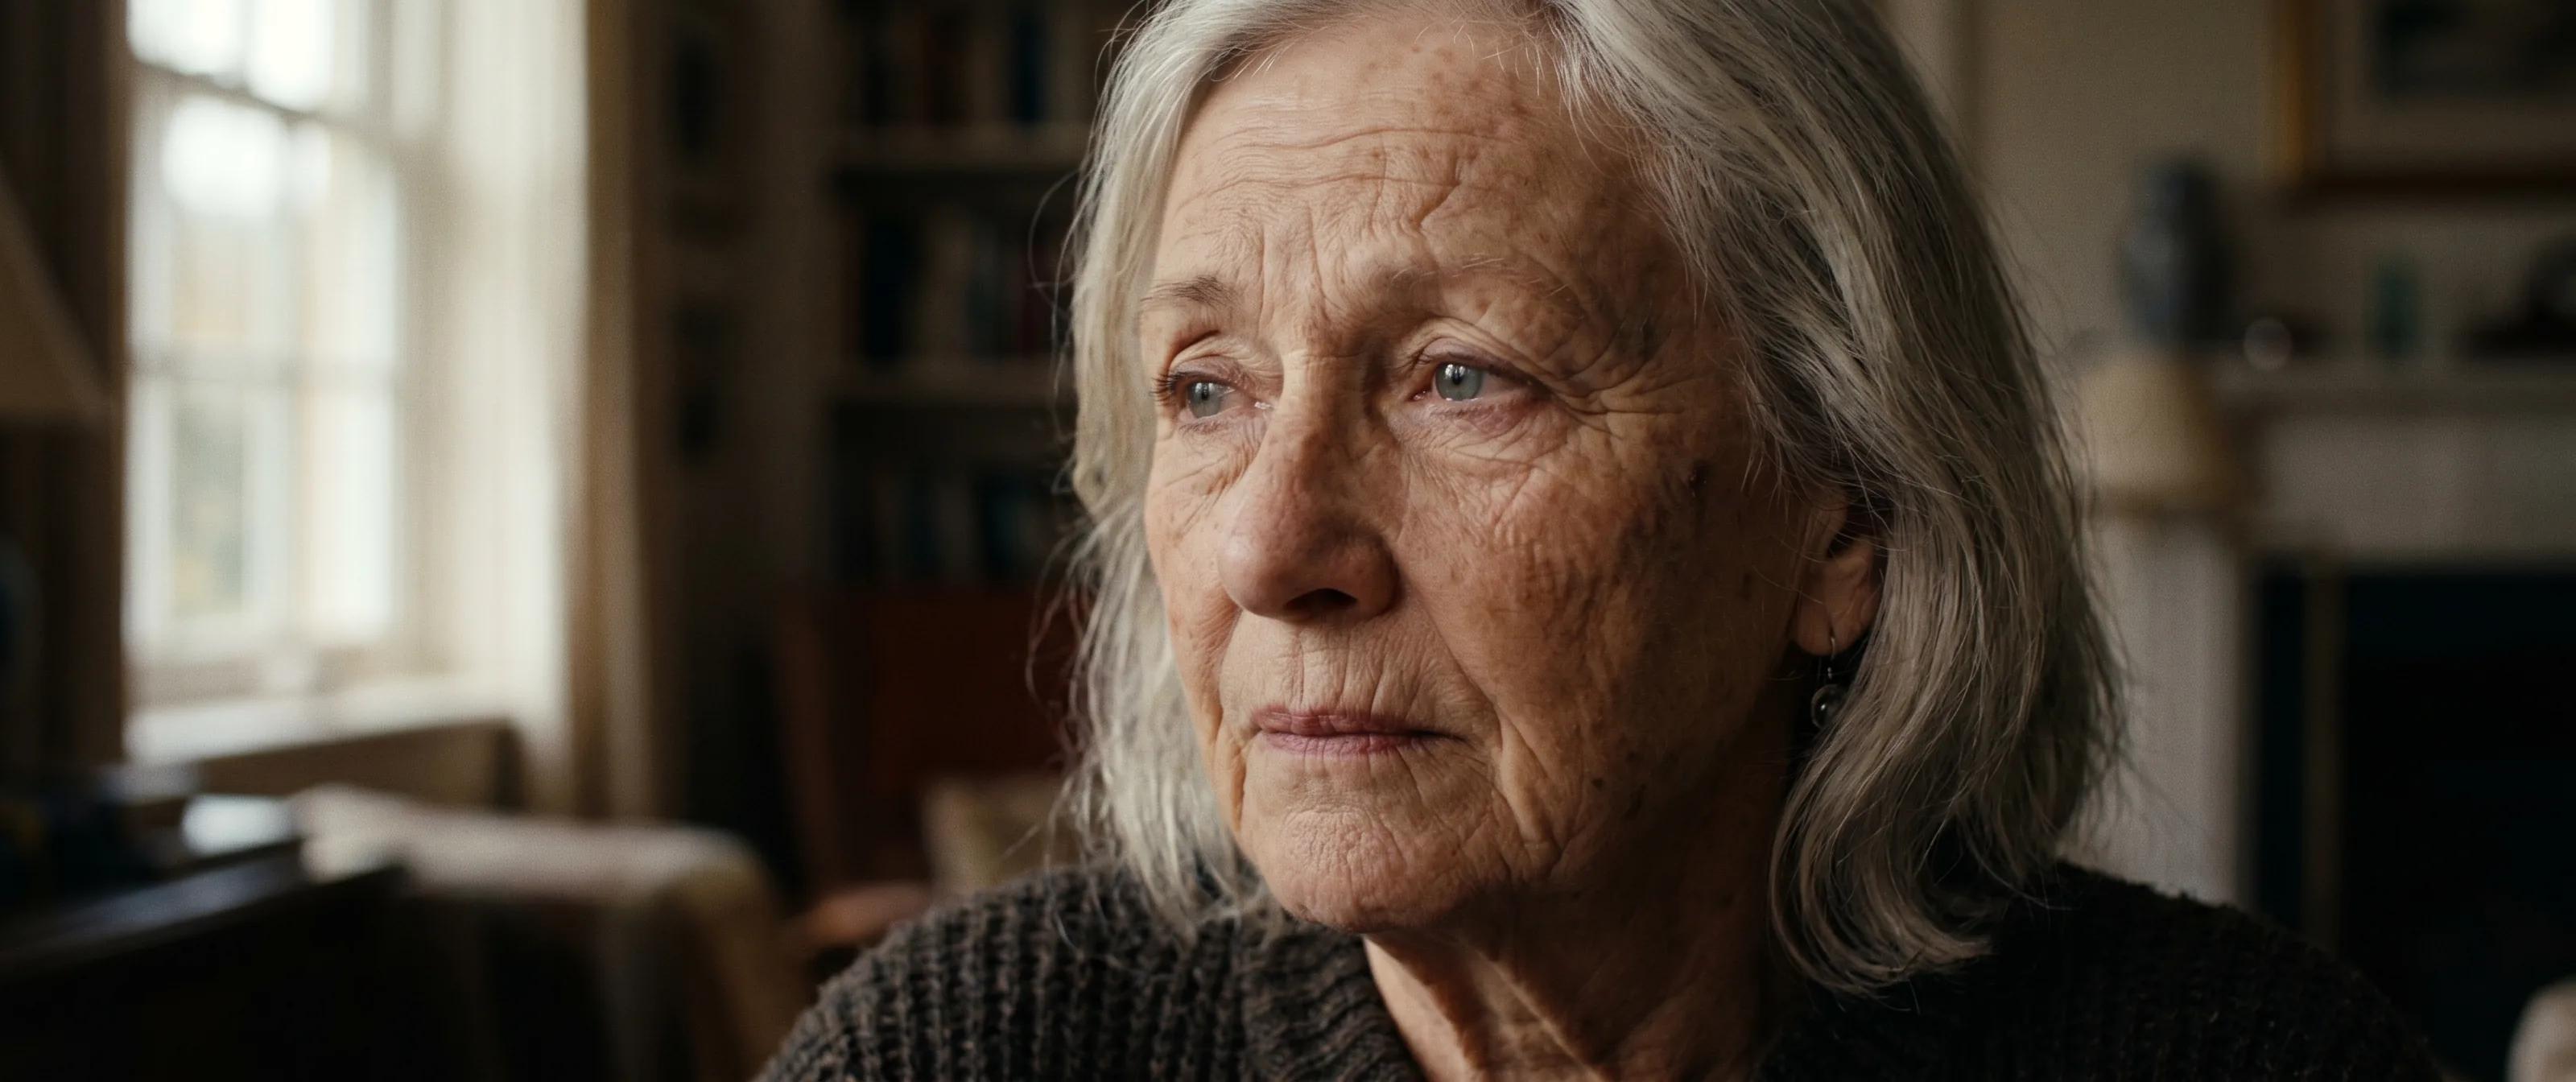
Close-Up
Frames the subject’s face or a key object tightly, highlighting emotion and detail. This shot is ideal for capturing subtle facial expressions and conveying the character’s emotional state. It is commonly used in dialogue scenes or moments of personal reflection to engage the audience emotionally.
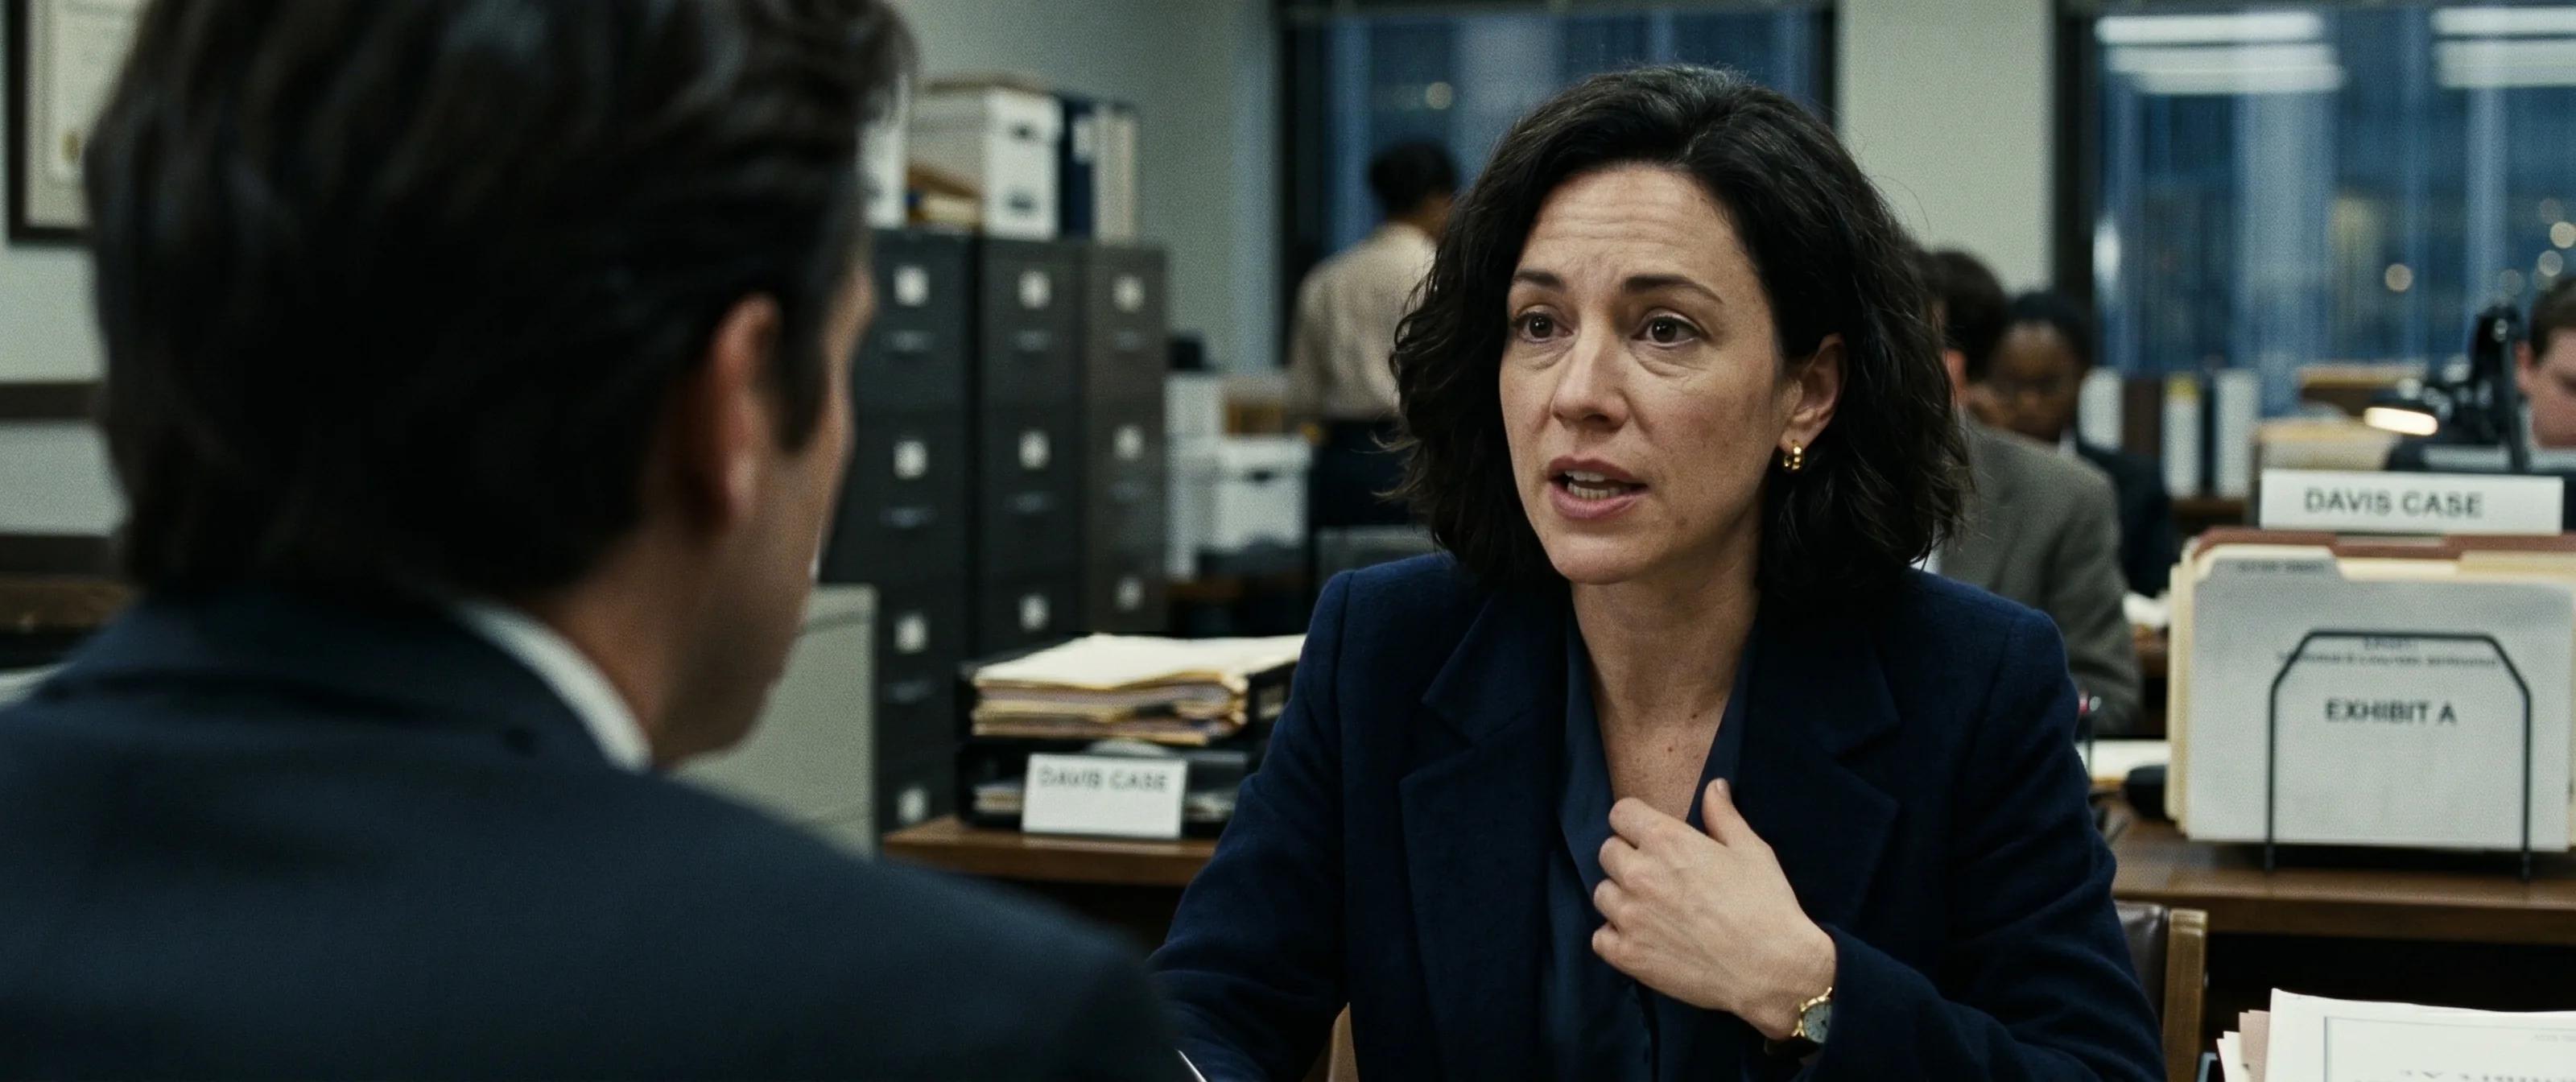
Medium Close-Up
Frames the subject from the chest or shoulders up, balancing intimacy and context. Use this shot when you want to show the character’s emotions while still providing some background context. It is effective in conversations and scenes where body language complements facial expressions.
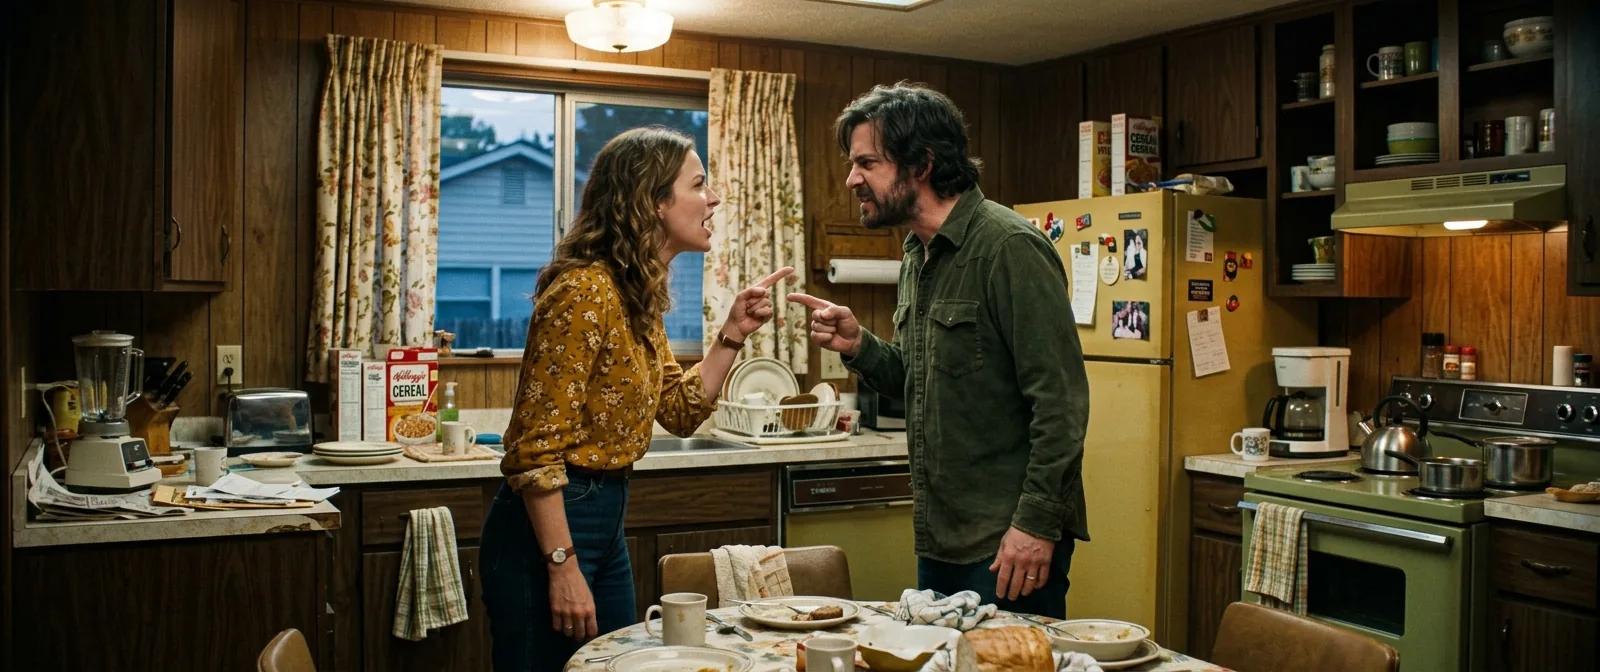
Medium Shot
Frames the subject from the waist up, commonly used in dialogue scenes to balance detail and environment. This shot allows viewers to see gestures and posture, making it useful for interactions between characters and to establish spatial relationships without losing emotional connection.
Medium Long Shot
Frames the subject from the knees up, providing more context while keeping focus on the subject. Use this shot to show body language and movement within a setting, often used in scenes where characters are interacting with their environment or each other.
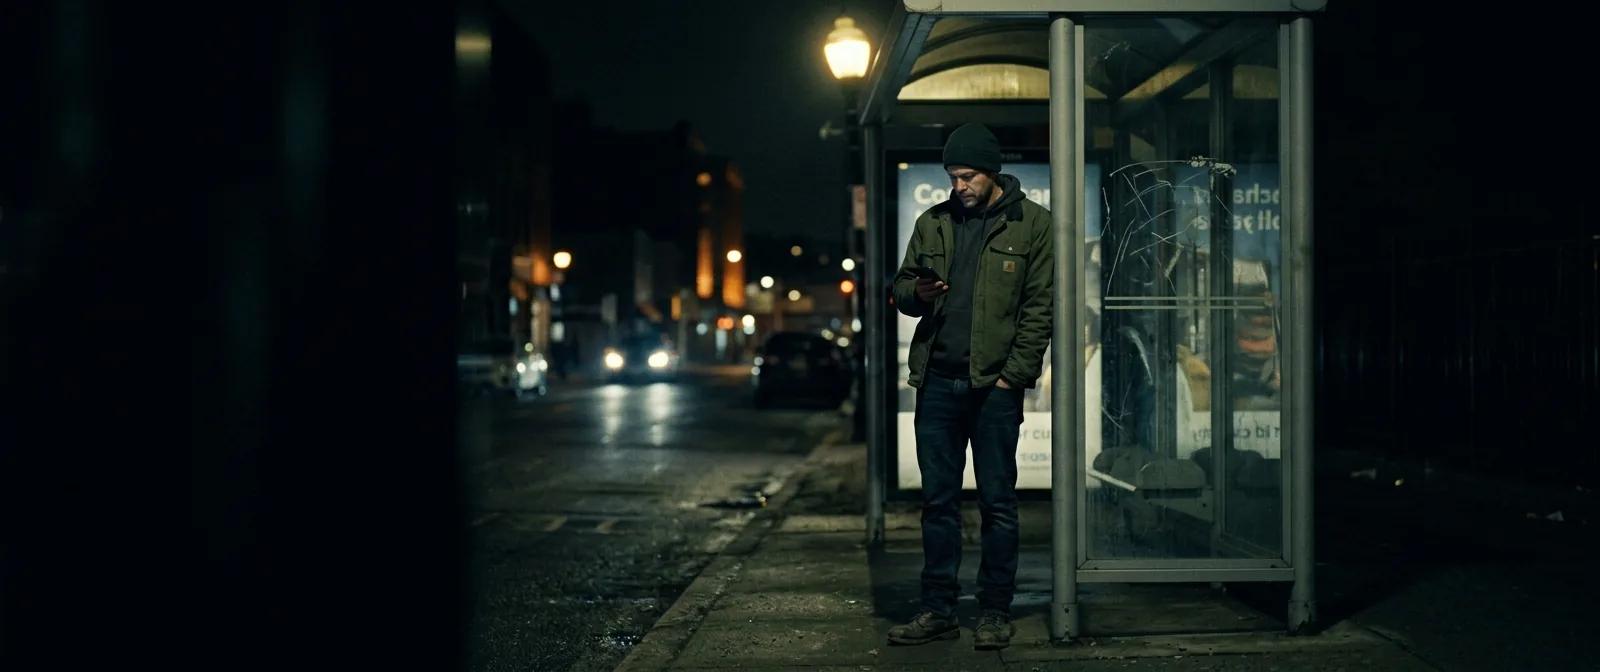
Long Shot
Shows the subject fully from head to toe, emphasizing the subject’s relationship to the environment. This shot is useful for establishing characters within a space, showing action, or highlighting physicality. It helps the audience understand the setting and the character’s place within it.
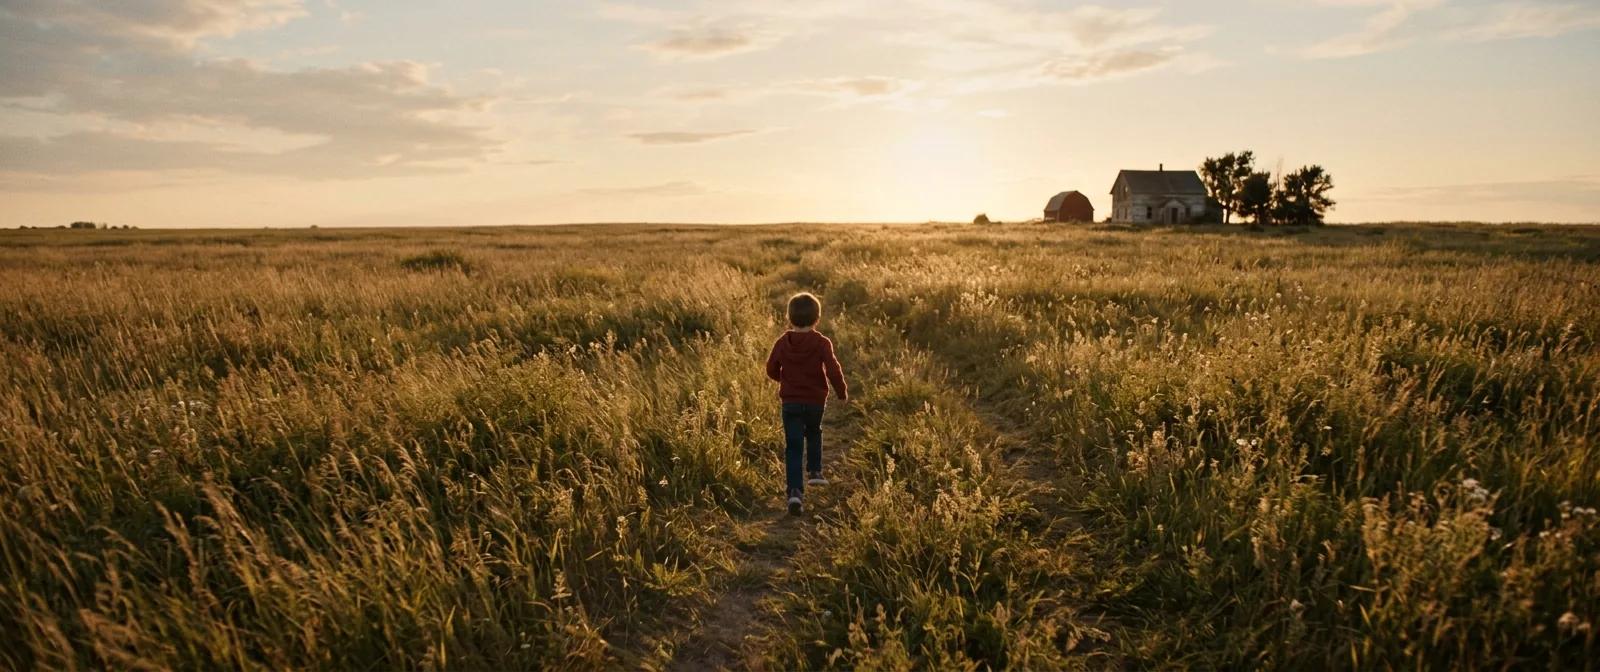
Extreme Long Shot
Shows a vast area, often a landscape or cityscape, with the subject small or barely visible, establishing scale and setting. Use this shot to set the scene, convey isolation, or emphasize the grandeur of the environment. It is often used at the beginning of sequences to orient the audience.

Conclusion
Understanding shot sizes is the foundation of cinematic literacy. By mastering these frames, you learn to whisper with an Extreme Close-Up or shout with an Extreme Long Shot. While these rules provide a solid baseline for clarity, the real magic happens when you use them to guide the viewer’s eye with intention. To help you execute these frames perfectly every time, Storytella acts as your digital cinematographer, ensuring your vision translates from script to screen. Now, take these frames and start building your world.
Your story awaits
The set is ready for you.
Turn your screenplay into stunning storyboards and animatics in minutes — not months. No drawing skills required.
Free to start · No credit card required · Cancel anytime